
I use Linux Mint on Windows using Virtual Box, mainly to use as a sandboxed OS for security testing email attachments, links, and websites. Easy to take a snapshot and revert if I fubar it. I wanted to create a shared folder between host Operating System and Guest Operating system so i can pass along files, links, etc. In this case, my host OS is Windows and my guest OS is Linux Mint. These steps will most likely work with any version of Linux.
Install Guest Additions if it is not already installed:
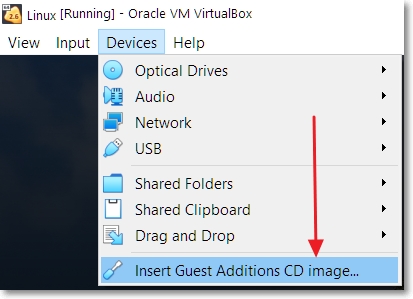
1 – With Linux Mint running, from the Virtualbox menu, go into Devices > Insert Guest Additions CD image
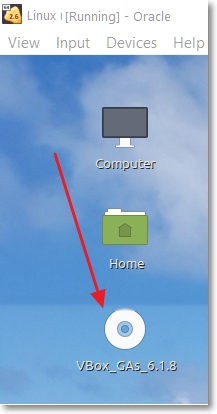
2 – This should mount the image as a virtual CD. Double-click on the CD to open the folder
3 – Right-click in an empty space of the folder and select Open in Terminal
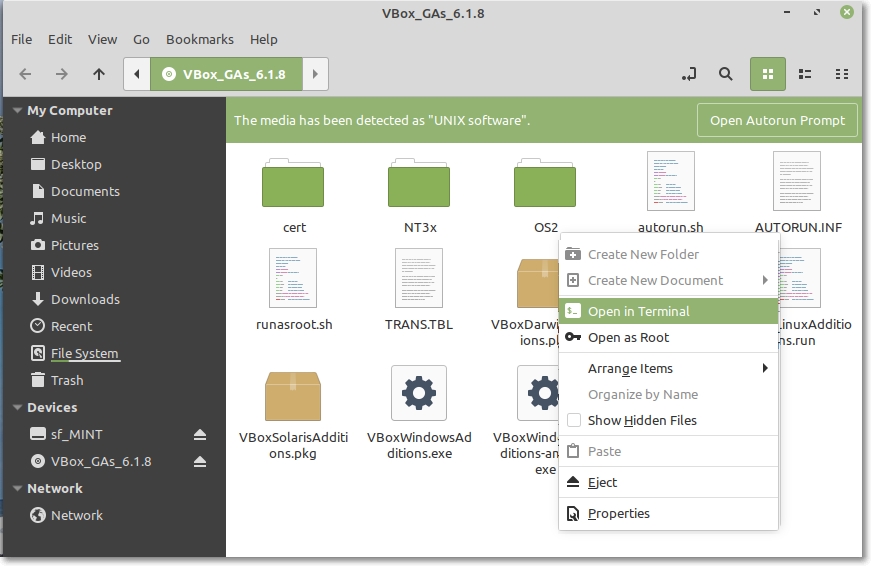
4 – Install the Virtual Box Guest Additions by running the following command in the Terminal window:
$ sudo ./VBoxLinuxAdditions.run
5 – Reboot your Linux guest
Create Shared Folder in Windows
1 – Identify a folder in Windows that you want to share (or create a new one)
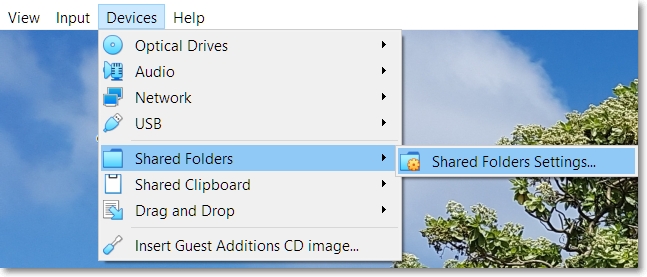
2 – In Virtual Box, go to Devices> Shared Folders> Shared Folders Settings…
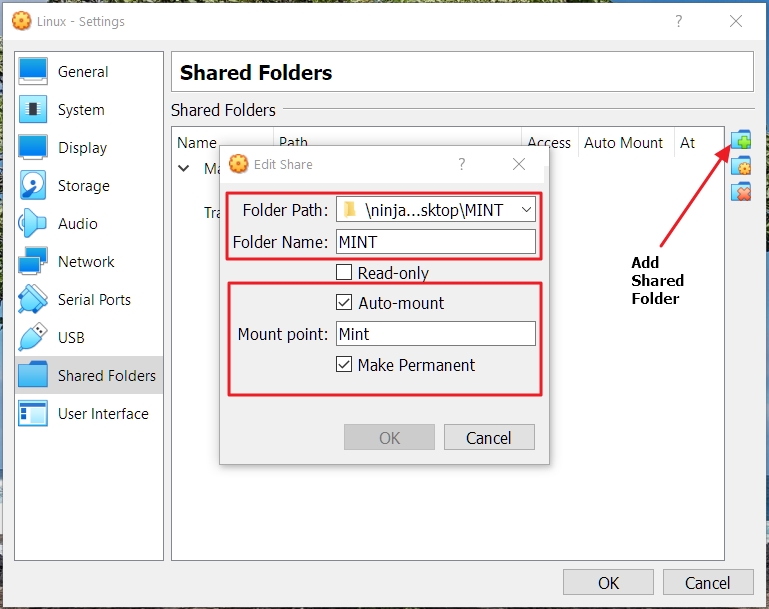
3 – Click the Add Shared Folder button
4 – Enter the path to the folder you want share, give it a name, select Auto-Mount, and if necessary Make Permanent
Mount the folder in Mint
1 – Create a folder in Mint that will share files with the host Windows OS. In my example I create a folder on the desktop called Shared. Open a Terminal and enter the following:
$ sudo mkdir ~/Desktop/Shared
2 – Mount the shared folder. In the Terminal window, enter the following:
$ sudo mount -t vboxsf Mint ~/Desktop/Shared
where Mint is the folder we’re sharing in the host Windows OS and Shared is the folder in the guest Linux Mint OS.
At this point you should be able to share files between the host and guest. However, if you reboot the guest, the above mount would need to be redone. Instead, what I’d like to do is create two shortcuts on the Linux Mint Desktop that I can double-click to mount or unmount the share.
Create Shell Scripts to Mount and Unmount the folders
1 – Open Nemo (or Nautilus, depending on your flavor of Linux) as sudo using Terminal:
$ sudo nemo
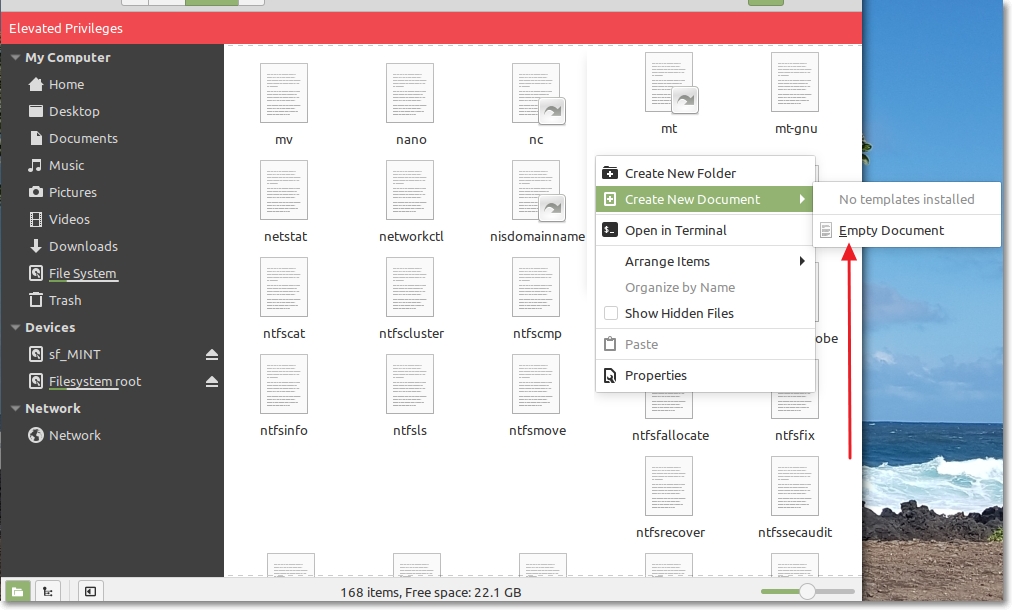
2 – Navigate to the /bin folder, right-click and Create an Empty Document and call it MountShared.sh (or call it whatever you want but use the .sh extension)
3 – Double-click the file to open it in a editor, enter the above mount command (shown again below):
$ sudo mount -t vboxsf Mint ~/Desktop/Shared
4 – Save and close the file
5 – Right-click on the MountShared.sh file and select Properties
6 – Under the Permissions tab, check the Execute option Allow executing file as a program and close

7 – Create another Empty Document in the /bin folder and call it UnMountShared.sh
8 – Double-click this file to open in an editor and enter the following unmount command:
$ sudo umount -t vboxsf Mint ~/Desktop/Shared
9 – Save and close the file
10 – Right-click on the UnMountShared.sh file and select Properties
11 – As above, under the Permissions tab, check the Execute option Allow executing file as a program and close
Create Desktop Shortcuts for the Shell Scripts
1 – Right-click on an empty space on your Desktop and select Create a new Launcher here…

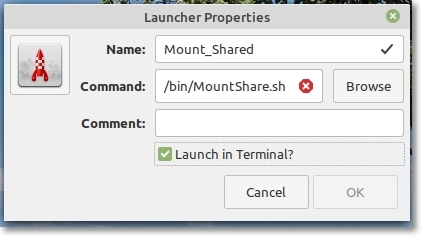
2 – Name the shortcut. I called it Mount_Shared
3 – For the Command, browse to /bin folder and select the MountShared.sh script you created.
4 – Check the Launch in Terminal? option and then OK
10 – Repeat the above 9 steps to create the UnMountShared.sh shortcut
Now you should be able to double-click the Desktop shortcuts to mount and unmount your shared folder
Optional – Change Shortcut Icon
1 – Right-click the shortcut your created on the Desktop and select Open With> Other Application, and select Text Editor
2 – In the Text Editor, add the following Icon option and specify the name of the icon file, including the path. For example,
Icon=/usr/share/icons/Mint-X-Orange/places/128/stock_folder.svg
3 – Save the file, and the icon should change.
That’s it!